前言
公司用openldap搭了一套ldap认证系统,用于统一内部各个系统的账户,避免每次添加或删除用户还得一个个登陆上去操作,使账户密码统一,能减轻很多工作和保证安全性,今天是想把ldap与zabbix进行结合。
环境
centos7.x
zabbix4.0.x
配置zabbix
安装php-ldap模块
php需要这个模块来进行ldap认证,安装方法网上都有这里只列举一种;
1 | #安装 |
zabbix页面配置
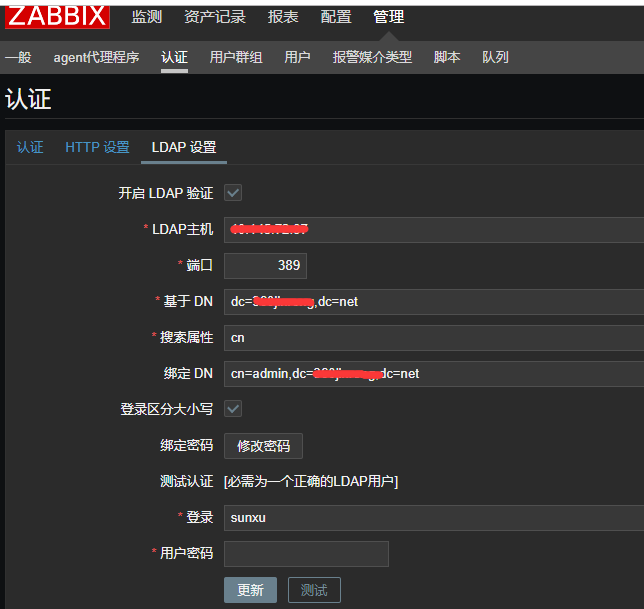
1 | LDAP host:访问ldap的地址。格式:ldap://ip地址 |
点击”Test”。如果没有报什么错误,就可以点击”Save”。现在ZABBIX的LDAP认证方式就已经配置完成了。
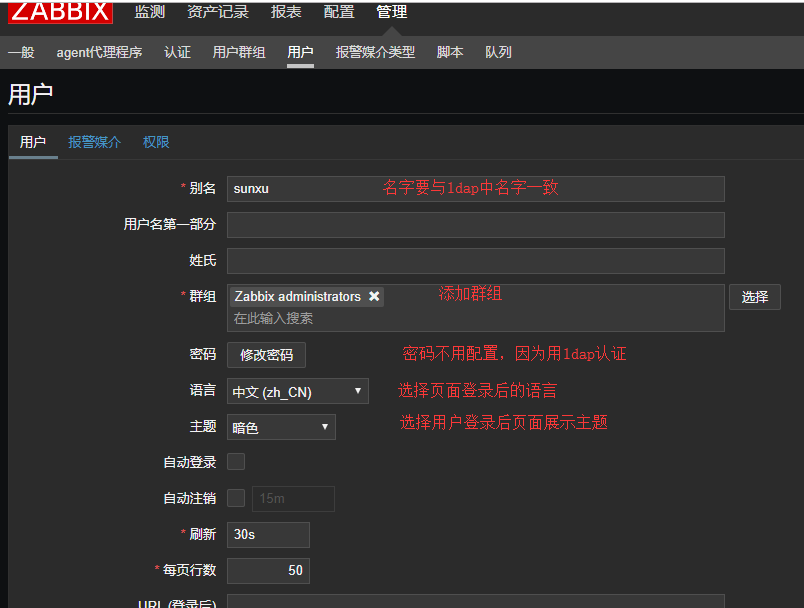
用户配置
上述配置完成后已经把ldap和zabbix打通了,用户登录zabbix时,会先到ldap认证,判断用户是否有效;但是zabbix不会把ldap的用户同步过了,你要登录,得先在zabbix上创建和ldap内同名的用户才行。
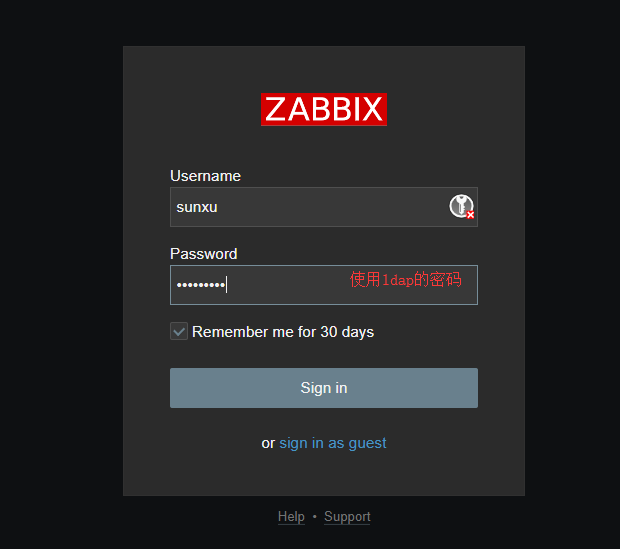
验证登录
同步用户
上面显得很被动了,于是写个脚本,定时往zabbix数据库插入用户,这样就免去手工创建的用户的烦恼。
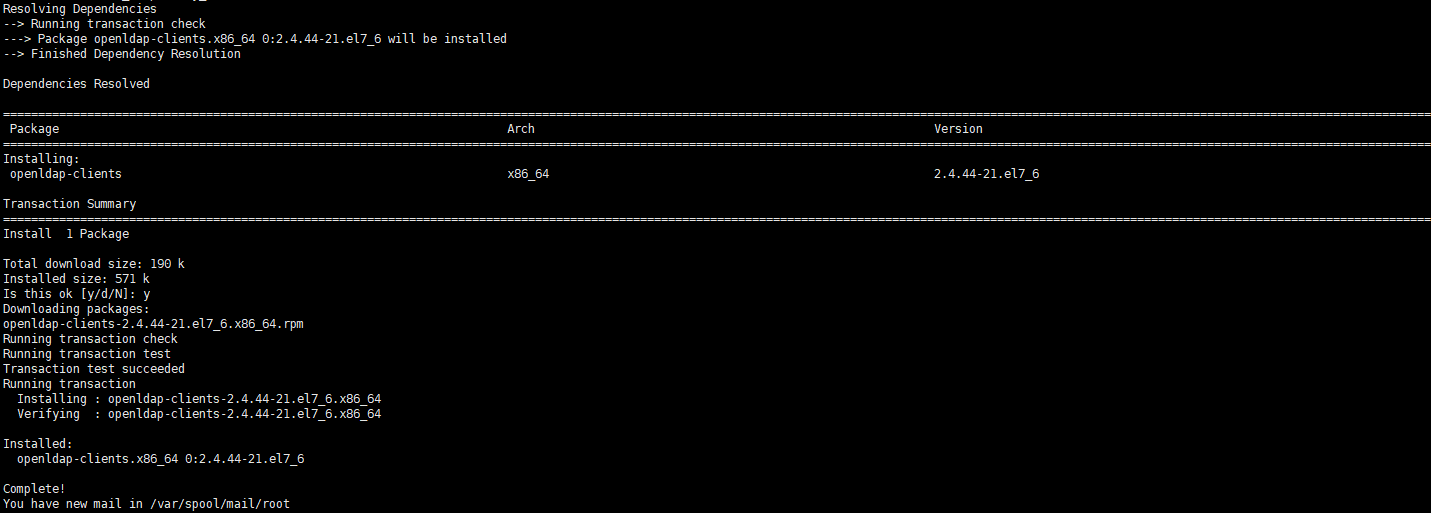
先需要安装ldap客户端工具
1 | yum install openldap-clients |
先查询测试
1 | ldapsearch -x -LLL -H ldap://xxxxx -b ou=People,dc=xxxxx,dc=net -D "cn=admin,dc=xxxxxx,dc=net" -w 密码 displayName|sed '/^$/d'|sed '1d' |

uid是zabbix的alias字段,displayName需要base64解码成中文名
同步脚本如下:
1 | #!/usr/bin/env python |
执行脚本
1 | python insert_sql.py |

到页面用户中就可看到
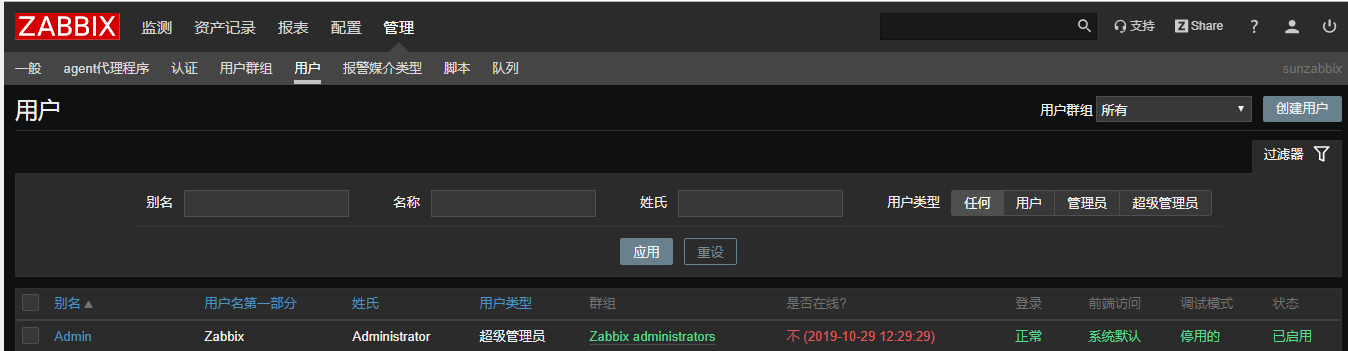
登录下,认证是成功的,接下来,你可以对用户进行分组和授权了
LDAP挂掉后该怎么办
更改认证类型为Internal,然后使用Admin登陆,如果忘记密码,也可以重置Admin密码为admin。
1 | #登录mysql, |
至此,zabbix ldap认证教程已经全面完成。

