目的
OpenVPN是一个开源的应用程序,它允许您通过公共互联网创建一个安全的专用网络。OpenVPN实现一个虚拟专用网(VPN)来创建一个安全连接。OpenVPN使用OpenSSL库提供加密,它提供了几种身份验证机制,如基于证书的、预共享密钥和用户名/密码身份验证。本文详细介绍了OpenVPN搭建过程,并利用pam_sqlite3插件实现用户认证;通过openvpn_web进行用户管理与日志系统。
环境
服务端:CentOS7.x
客户端:Windows10
服务端安装
安装openvpn
1 | #临时关闭selinux |
配置EasyRSA
1 | #下载EasyRSA 3.0.7 |
创建相关证书和秘钥
1 | cd /etc/openvpn/easy-rsa3/ |
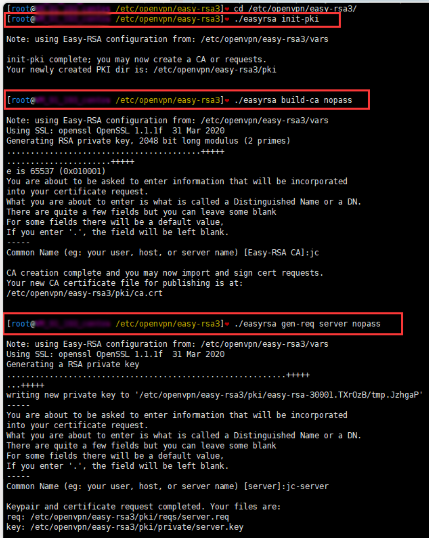
1 | #给服务端证书签名,这里要输入yes才能完成 |
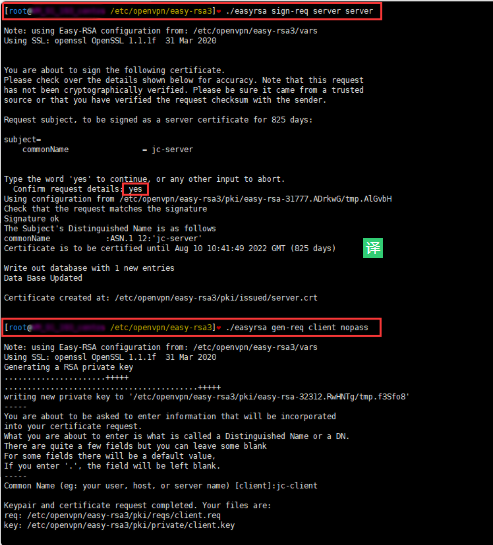
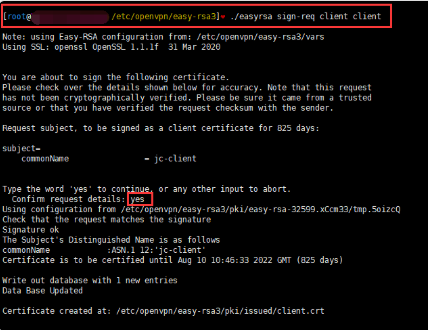
1 | #给客户端证书签名,这里要输入yes才能完成 |
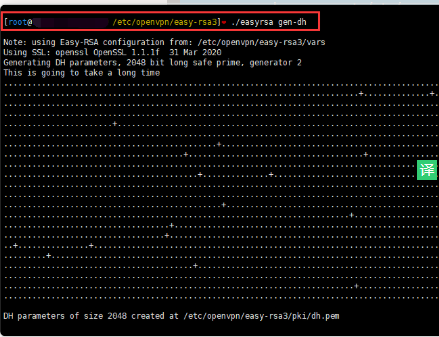
1 | #创建Diffie-Hellman |
拷贝证书到目录
1 | #目录自定义,配置文件中要用到 |
编辑配置文件
1 | cd /etc/openvpn/ |
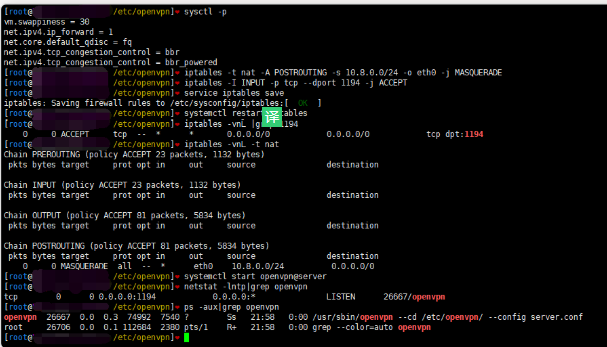
配置系统转发和开放端口,云服务器记得安全组要开放对应端口
1 | 修改文件目录权限 |
启动openvpn服务
1 | #启动openvpn服务 |
win10客户端连接测试
下载客户端:
openvpn-install-2.4.8-I602-Win10.exe
证书配置
把ca.crt、client.crt、client.key、ta.key 4个文件放到软件安装目录下\OpenVPN\config
编辑配置文件
新建文件client.ovpn,把下面的参数粘贴到里面
1 | #客户端配置文件 |
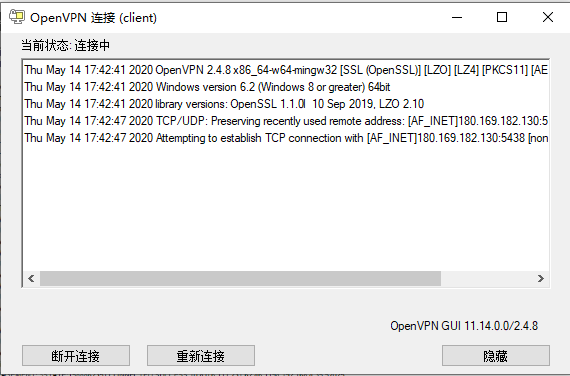
启动OpenVPN GUI软件
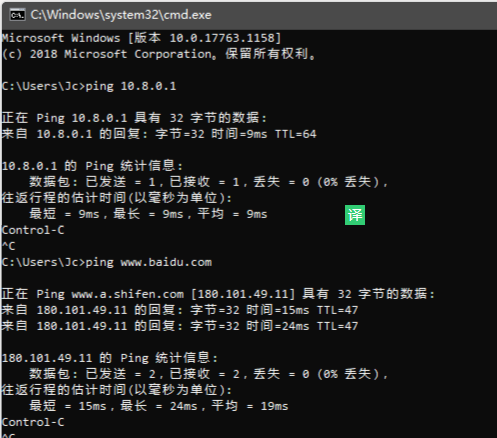
连通性和上网测试

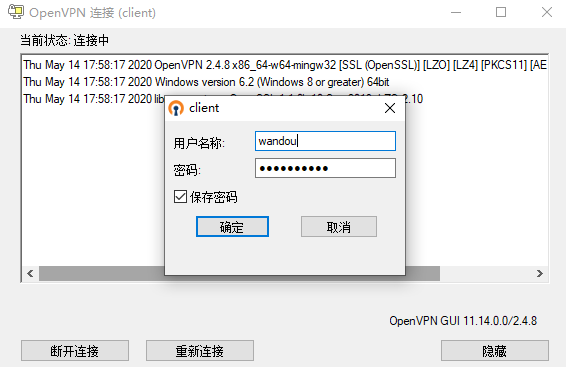
密码认证
基于证书的认证方式已经完成了,但是有些老铁想要用用户名和密码来认证,那要怎么做呢?下面介绍基于用户密码的认证方式
在证书认证的基础上修改openvpn配置
修改服务端 server.conf配置文件
1 | 添加几个参数 |
创建脚本和用户密码文件
1 | #脚本 |
win10 客户端配置文件修改
1 | #注释掉 |
管理界面安装
下载pam_sqlite3并安装
1 | git clone https://gitee.com/lang13002/pam_sqlite3.git |
添加pam认证文件
1 | vim /etc/pam.d/openvpn |
创建sqlite3数据库文件
1 | sqlite3 /etc/openvpn/openvpn.db |
在服务端配置添加认证插件
生成插件
因为用yum安装默认是没有插件的,所以需要用源码先生成插件。有了这个插件openvpn才能用数据库来管理
1 | # 安装依赖组件,如果不安装会报错 |
在openvpn的服务器配置中添加下面配置
1 | verify-client-cert none |
安装依赖
1 | pip2 install peewee tornado==5.1.1 |
下载openvpn-web
1 | git clone https://gitee.com/lang13002/openvpn_web.git |
创建相应的数据库表
1 | # sqlite3 /etc/openvpn/openvpn.db |
OpenVPN运行脚本写日志
服务端配置添加运行脚本
1 | script-security 2 |
connect.py
1 | #!/usr/bin/python |
disconnect.py
1 | #!/usr/bin/python |
启动服务
1 | python myapp.py |
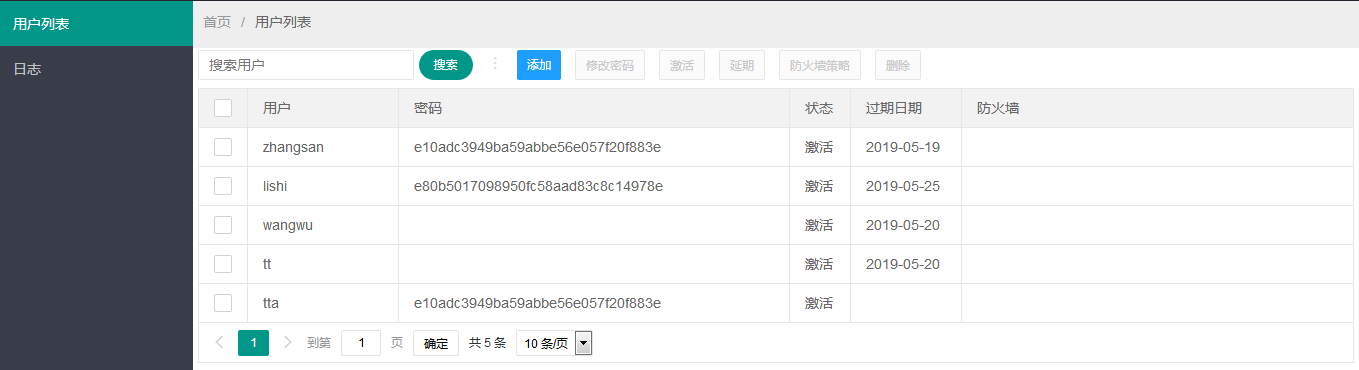
管理界面

自定义路由配置
通常openvpn部署好以后,客户端连接VPN后会被配置一些路由,其客户端的路由会被修改为所有的流量都通过VPN来传输。但有时候,我们需要客户端的某些IP走VPN或者本地网关。这里有两种方法进行openvpn的路由配置
第一种方法: 客户端进行配置
在配置文件下增加如下内容:
1 | route-nopull # 客户端连接openvpn后 不从服务端获取路由 |
注意: 如果配置中有 redirect-gateway def1 则需要先移除
添加vpn_gateway参数使部分IP访问走OpenVPN出去。net_gateway和 vpn_gateway 相反, 他表示在默认全部走OpenVPN ,强行指定部分 IP 访问不通过 OpenVPN 出去。
第二种方法: 在服务端进行配置
服务端和客户端的配置略有不同
1 | push "route 192.168.0.0 255.255.255.0 net_gateway" # 将引号中的路由推送到客户端 |
注意: 如果配置中有 redirect-gateway 则需要先移除
配置完成后,需要重启openvpn服务。
两种方法选取其一即可。

