目的
这一篇我们要开始学习使用 HomeAssistant 了。在此之前,为了更方便地写代码,我们还需要做一些准备工作。
开启 Samba
还记得上一节中我们使用的 FTP 软件吗?你可以在 /home/pi/hassbian-scripts 这个目录下找到一些已经预装好的脚本,如果没有,可以以 pi 的身份 clone 这个 repo :
1 | git clone https://github.com/home-assistant/hassbian-scripts.git |
然后运行
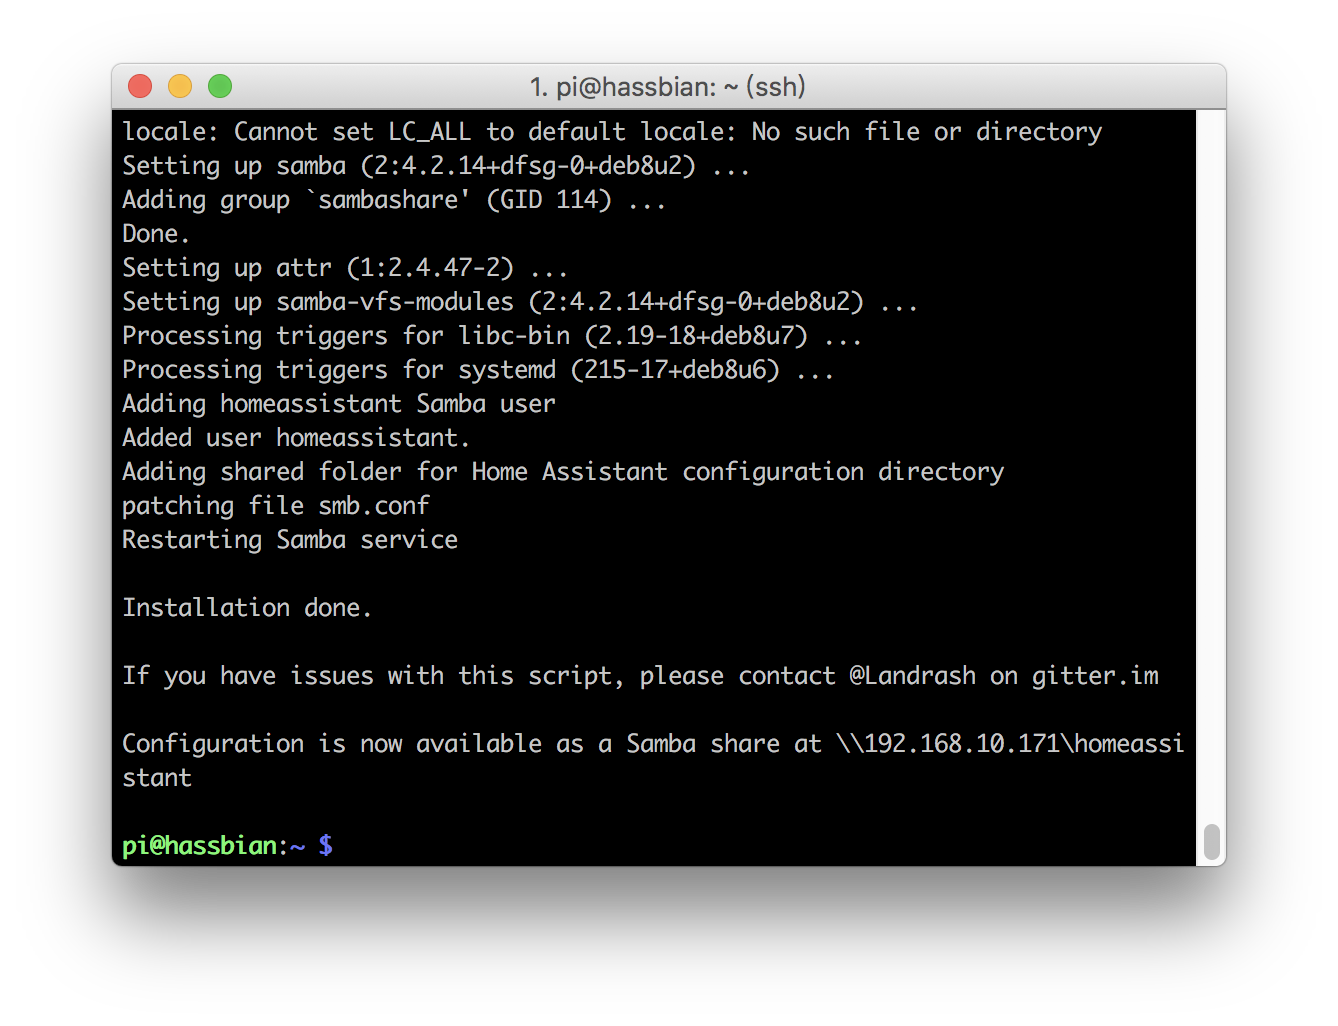
1 | sudo ./hassbian-scripts/install_samba.sh |
大概5分钟左右的安装时间。安装完你可以看到下面的界面:
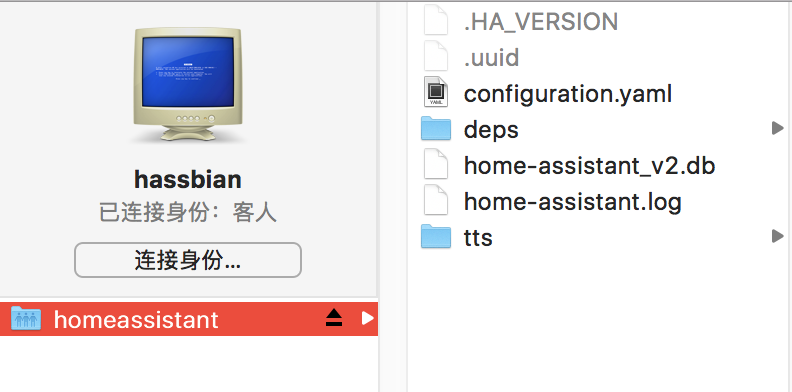
 然后在 Finder 的共享下面看到树莓派开放的服务器了。这样的好处是,你可以像访问本地的文件一样访问树莓派上的文件了。
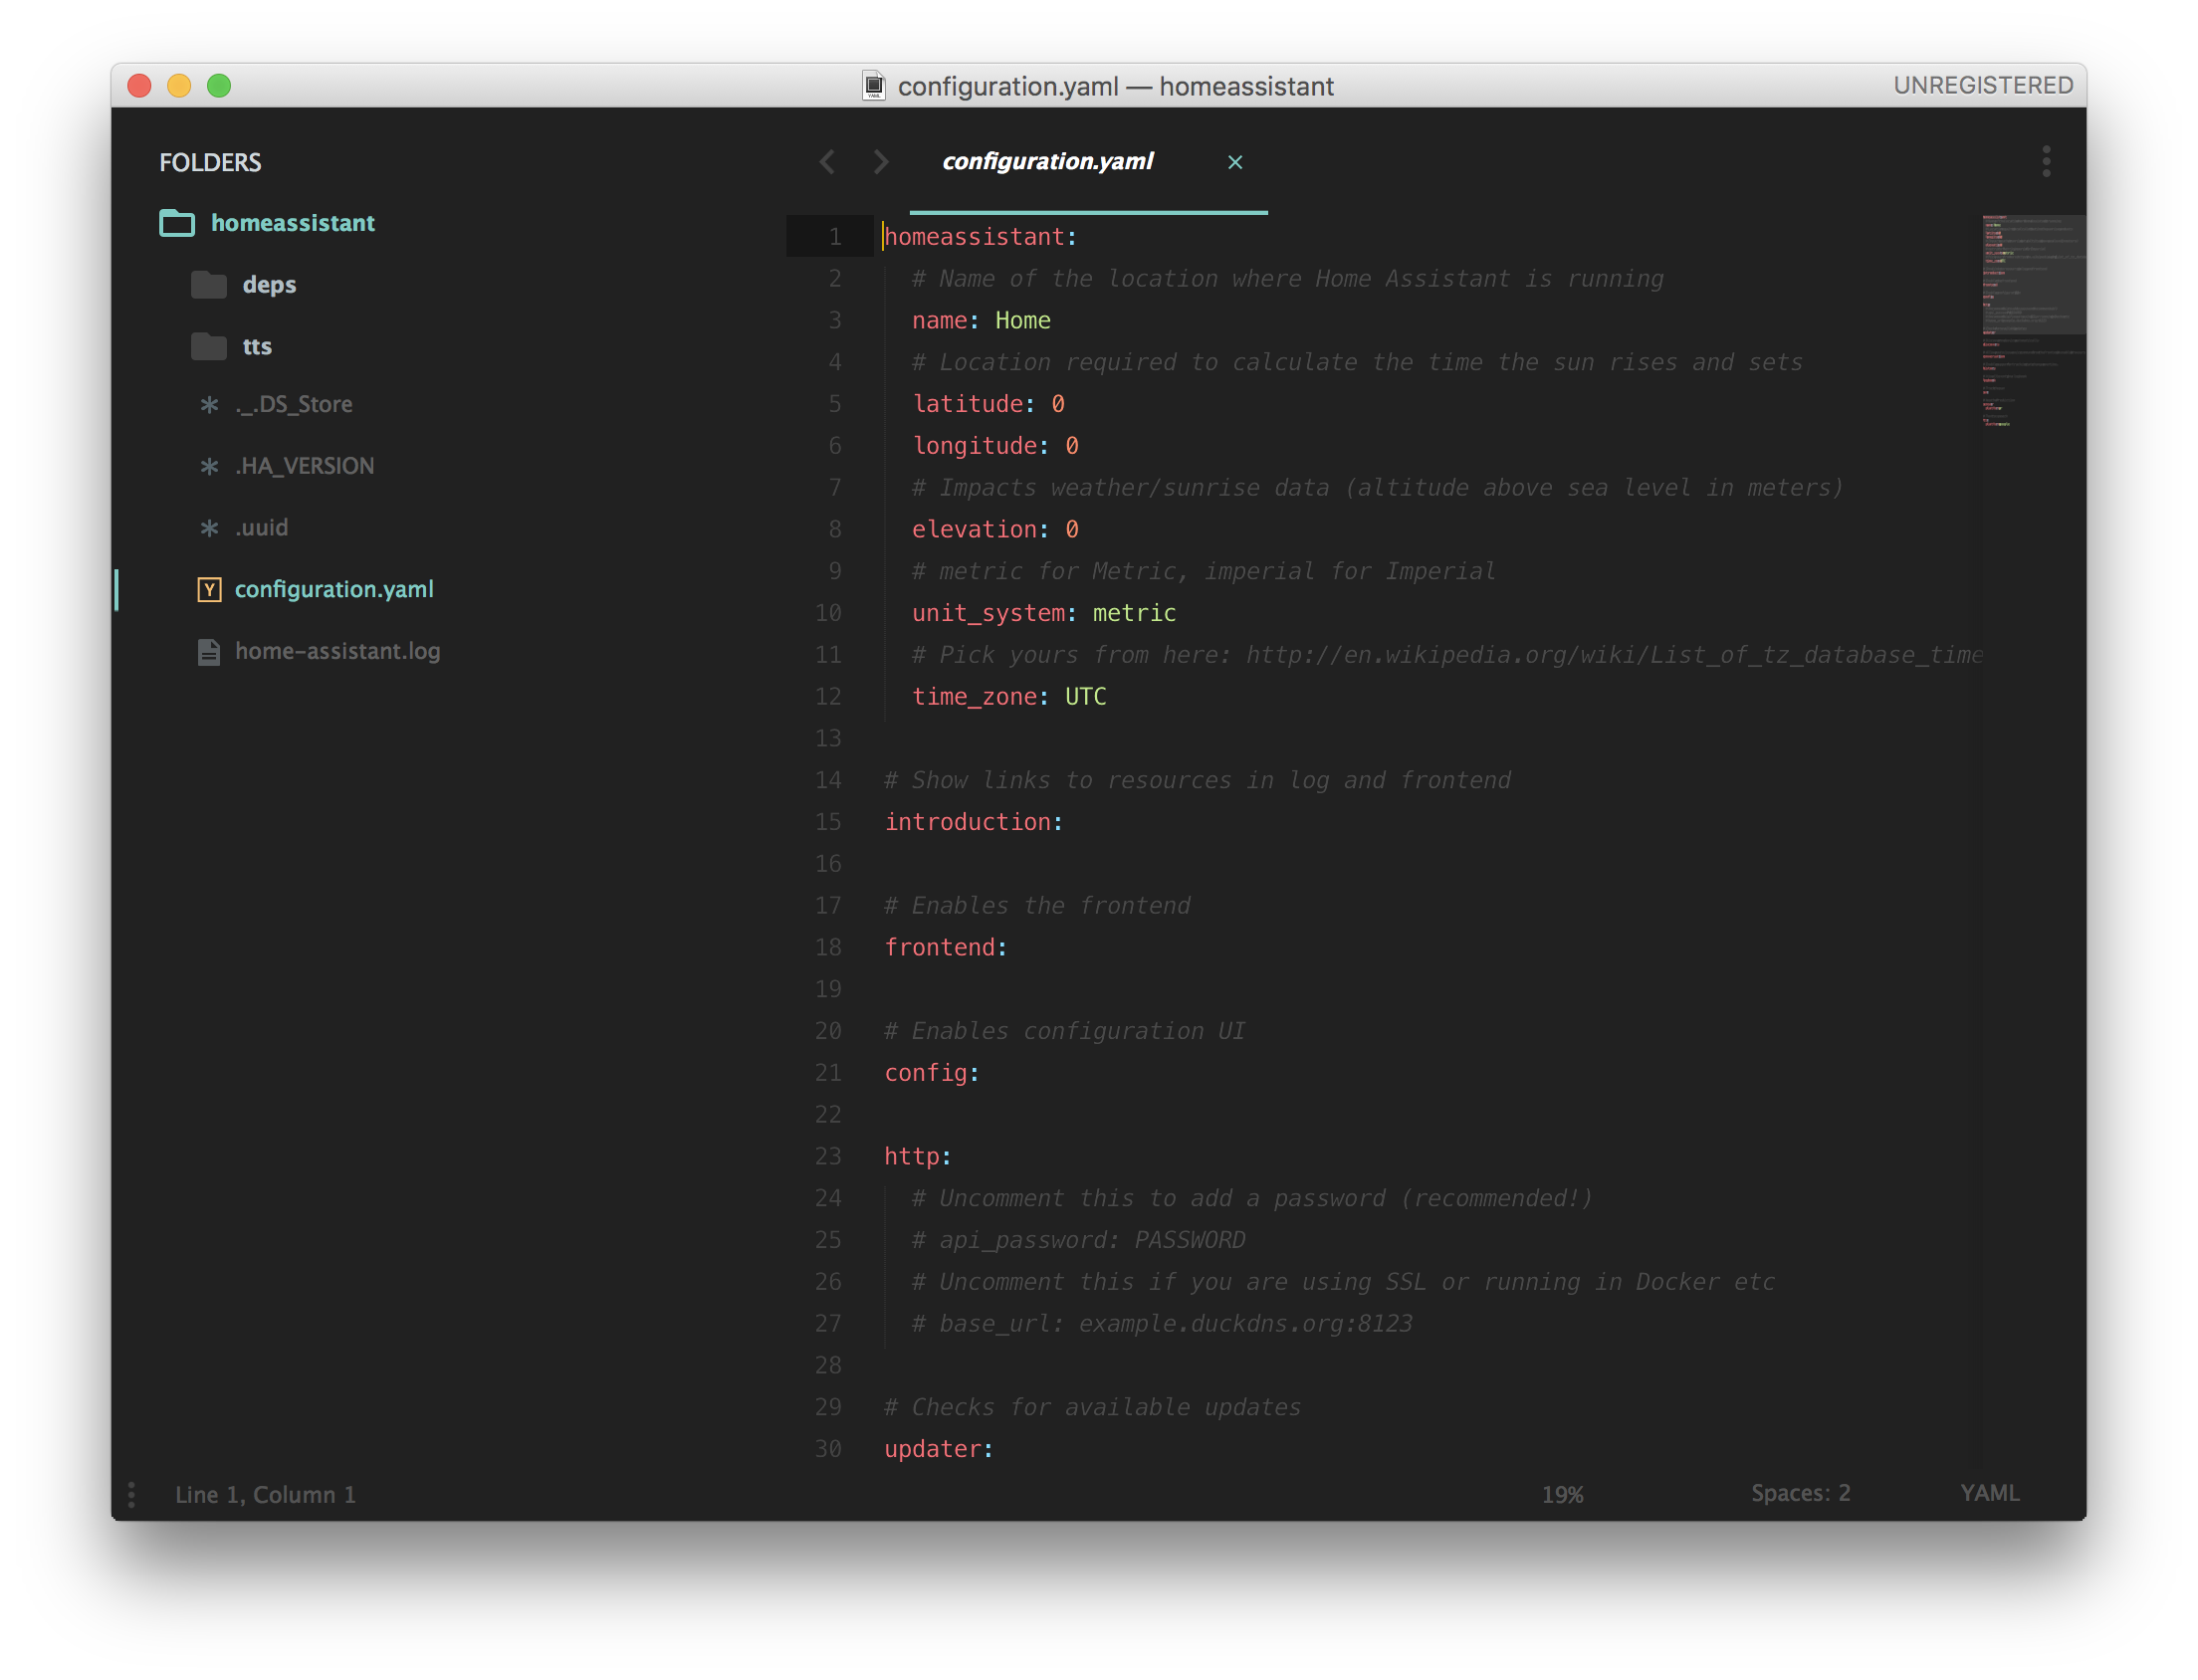
然后就可以用 Sublime Text 打开这个目录开始编辑了:
Configuration.yaml
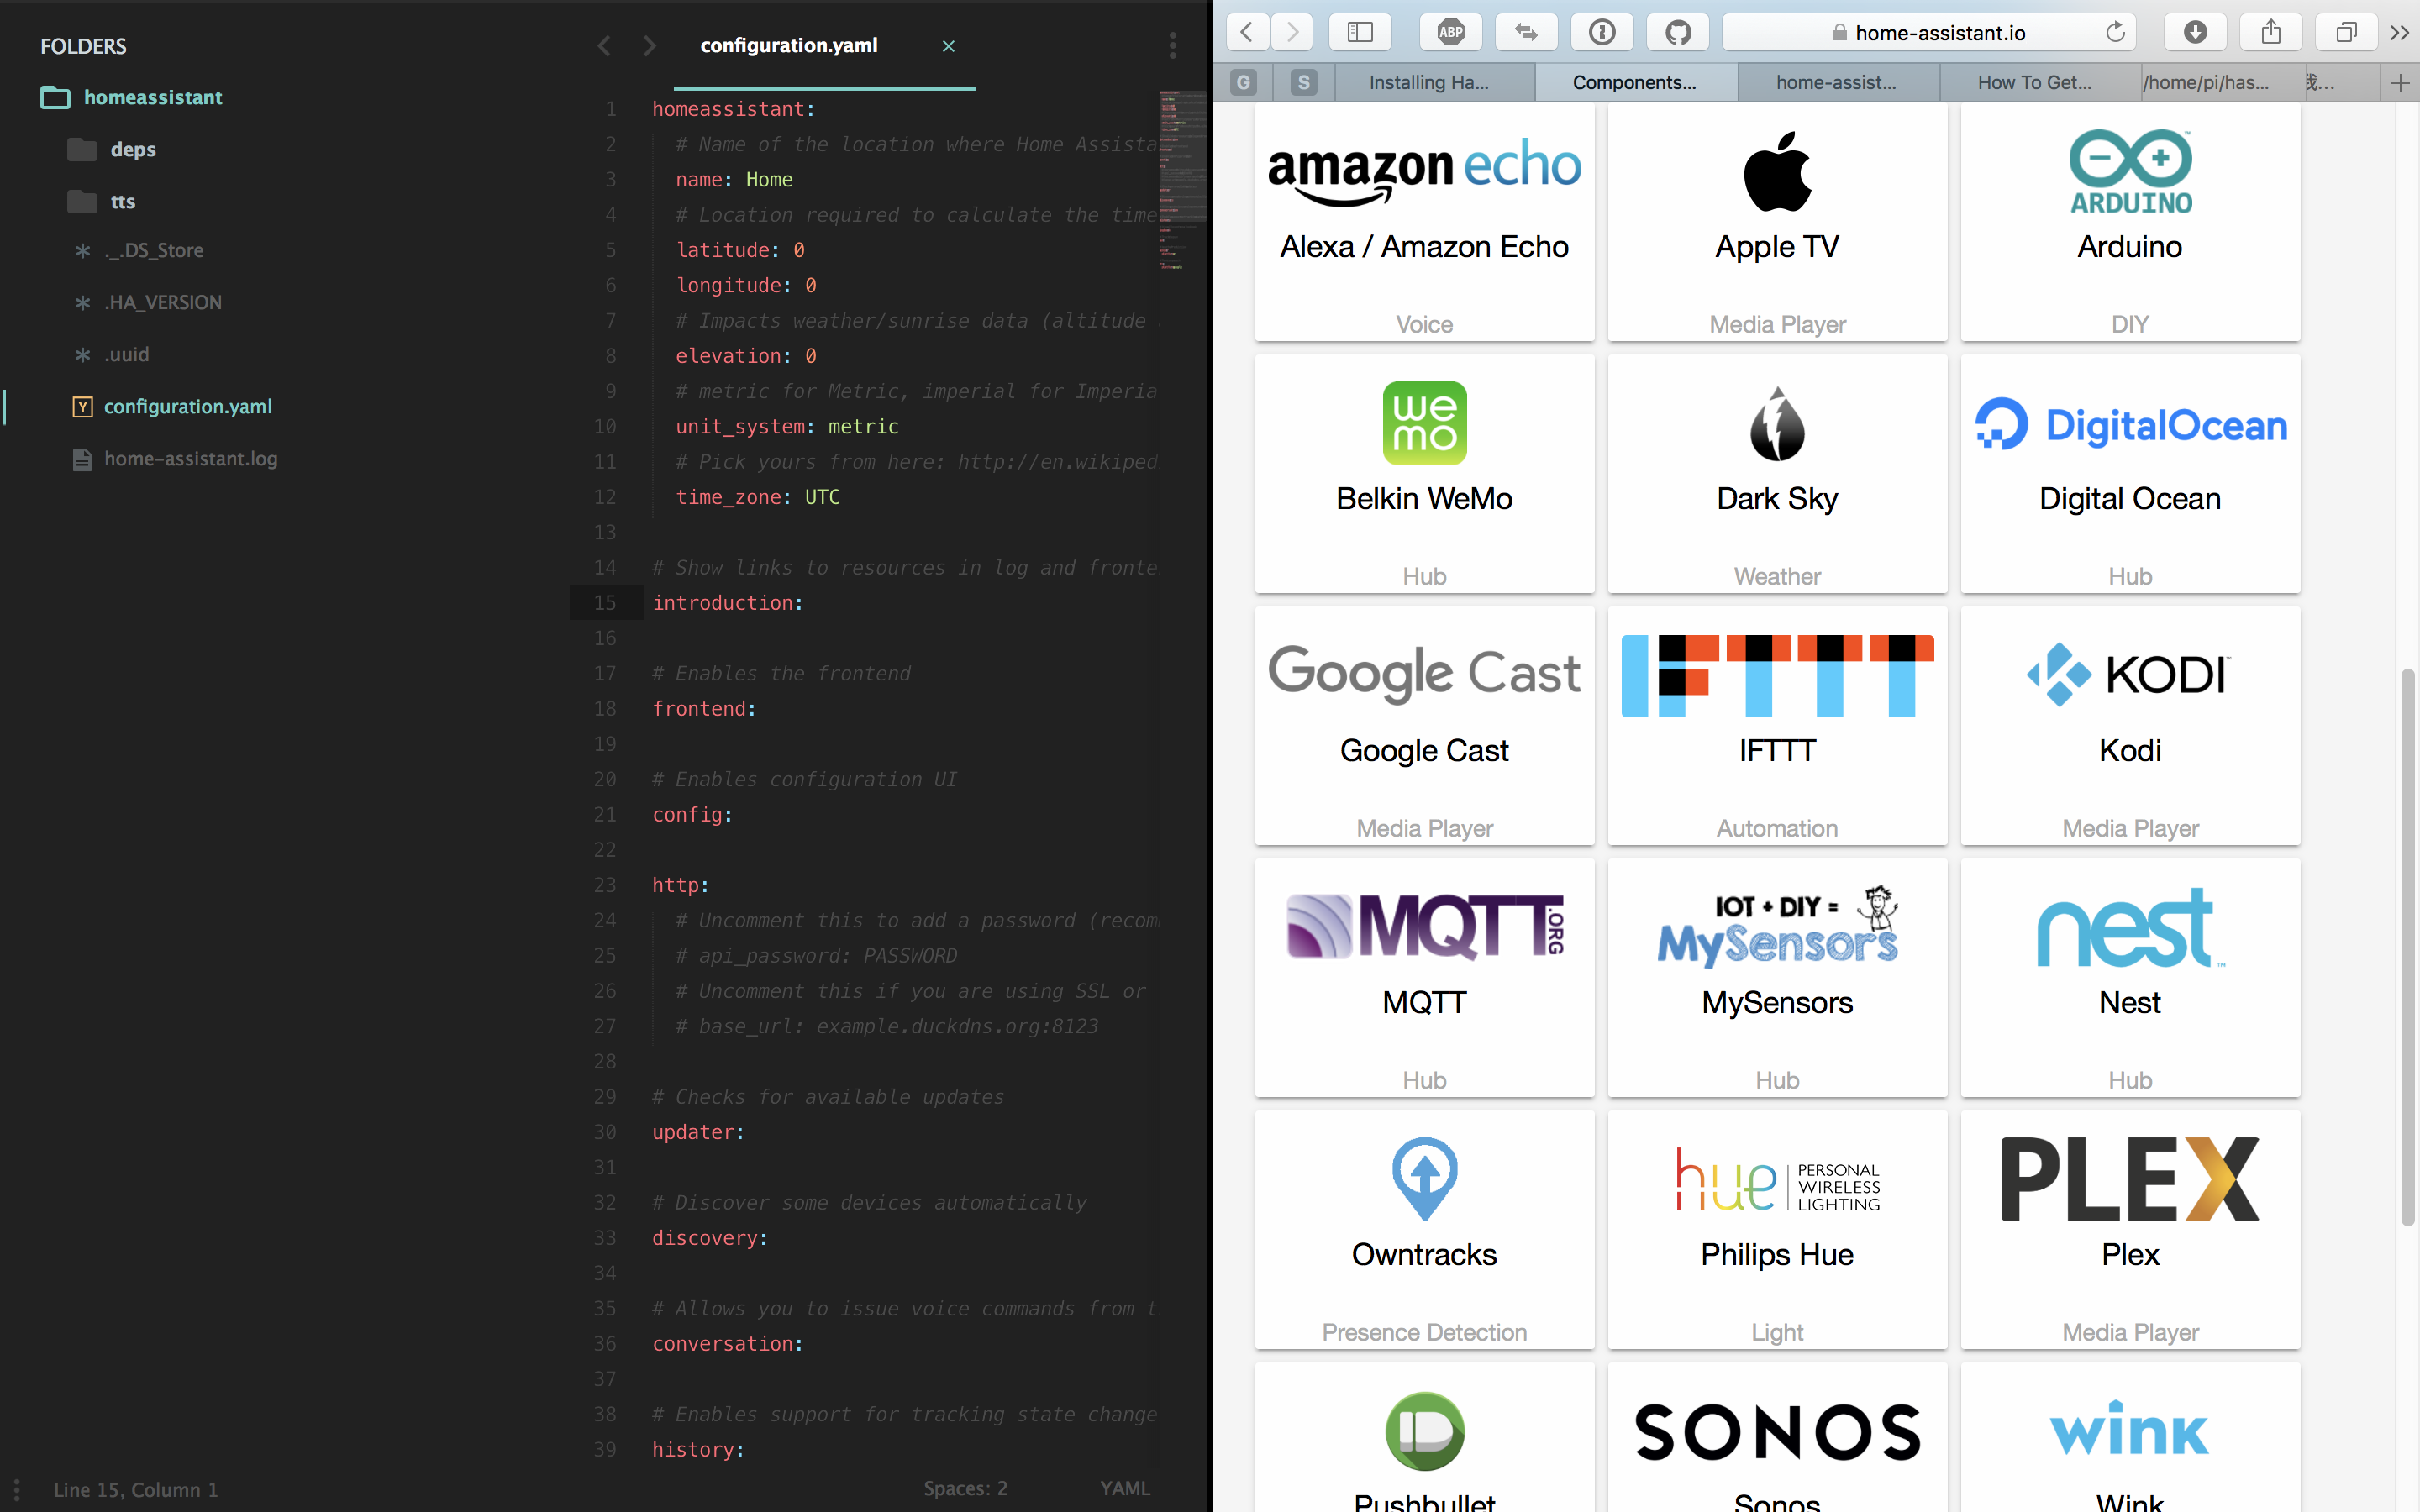
集成的所有服务可以在 Components 页面搜索。
接下去我们的所有工作都是在 Configuration.yaml 这个文件里完成。 HomeAssistant 的配置文件是 Yaml 写的,每个字段都表示一个服务,比如 homeassistant:,introduction,http,sun,sensor …. 等都是 HomeAssistant 内建好的服务。一般来说,你需要什么服务就添加什么服务,重启 HA 即可在控制页面看到新添加的服务了。
凡是改动了 Configuration.yaml 配置文件,都需要重启 HomeAssistant 服务才能生效。你可以使用命令重启,
1 | sudo systemctl restart home-assistant.service |
也可以在管理界面重启
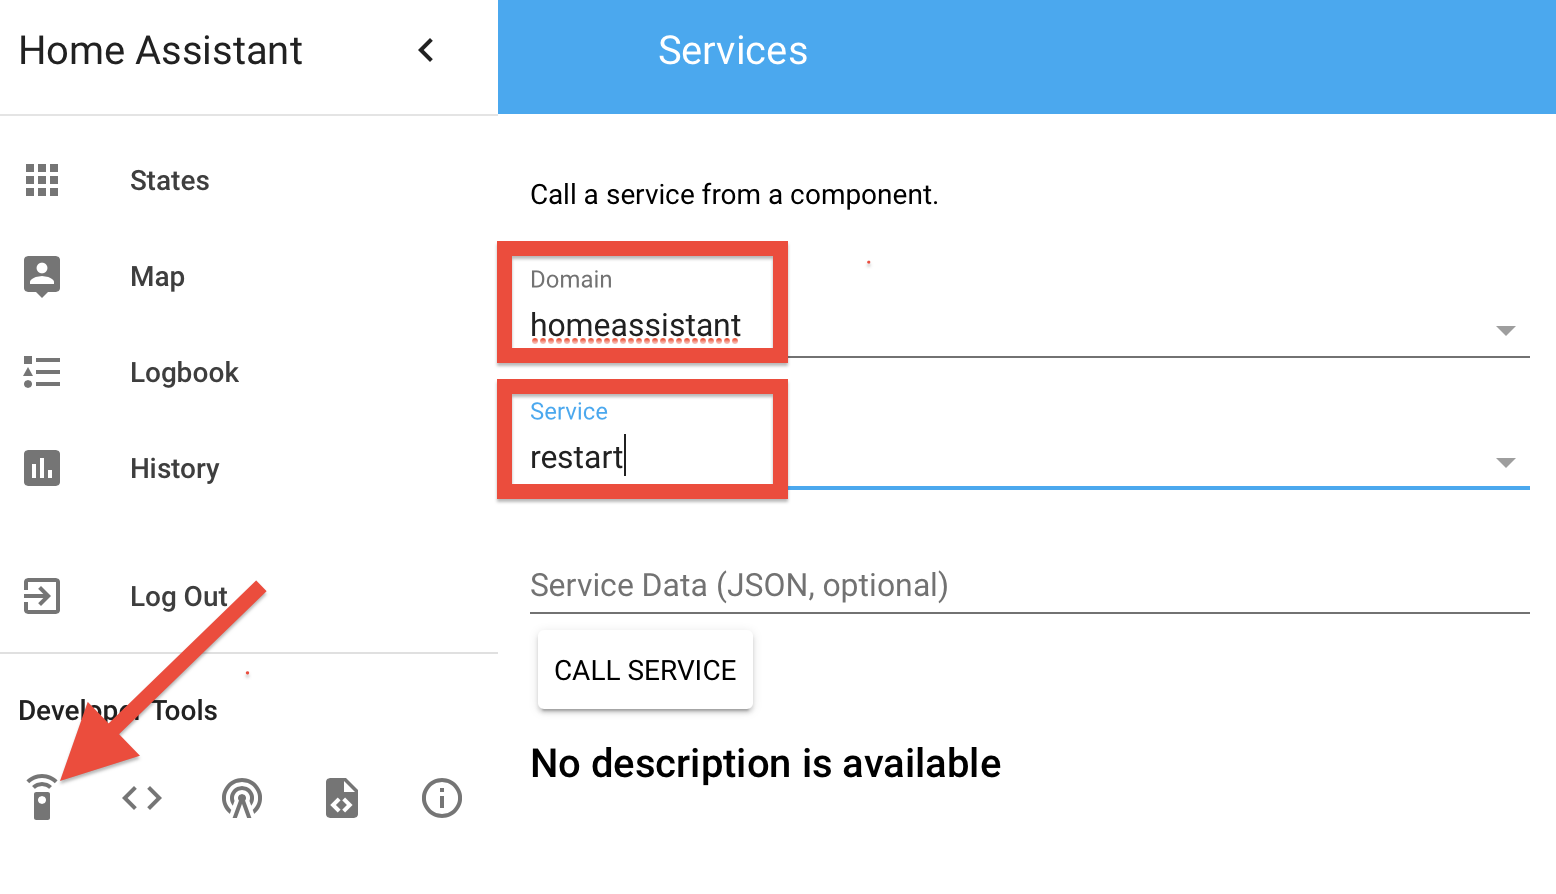
举些例子:
homeassistant 文档
这个服务下面提供一些全局的信息配置。latitude 和 longitude 字段填入自己所在位置的经纬度,方便一些需要用到经纬度的服务准确获取信息,比如 sunrise 服务就可以准确获取你当前位置的日出日落时间;unit_system 使用英制单位还是公制单位;time_zone 你的时区….
automation 文档
这是一个内置的自动机,类似 IFTTT,都是当满足条件时触发操作,但 automation 的操作空间比 IFTTT 大的多,他不仅可以设置多个条件,还有触发一系列操作。
automation 由三部分组成:
trigger – When Paulus arrives home
condition – and it is after sunset:
action – Turn the lights in the living room on
举个我使用的例子:
- HomeAssistant 服务启动时候用 IFTTT 给我推送一条推送:
1 | automation 1: |
其中 trigger 的 platform 字段必须制定一个值, event(事件总线) 是 HA 内建的一个 platform ,任何服务都可以获取和监听系统事件总线的事件,比如 HOMEASSISTANT_START , HOMEASSISTANT_STOP , SERVICE_REGISTERED …. 我在上面的 automation 里监听了 HA 启动的事件,没有 condition ,直接触发 action,action 的 service 也必须指定一个服务。
notify 文档
这就是 HA 的推送服务了,基本你能想到的和你想不到的 platform 都已经集成进来了,具体请看文档。比如我用的是 pushbullet。
1 | notify: |
一旦配置了这个服务,就可以在其他服务里调用它了。比如在我们之前提到的 automation 里面就可以使用:
1 | automation 3: |
注意我这里的 action 就用了 notify.notify 来找到你在其他地方配置的这个 notify 服务。
IFTTT 文档
1 | ifttt: |
IFTTT 的配置很简单,就只要配一个 key 就行,key 需要在 Maker Channel 里生成。接下来我们来看看如果配合 IFTTT 使用 HomeAssistant。
首先新建一个 Applet, this 选择 Maker Webhooks,选择 Receive a web request,然后给事件取一个名字。
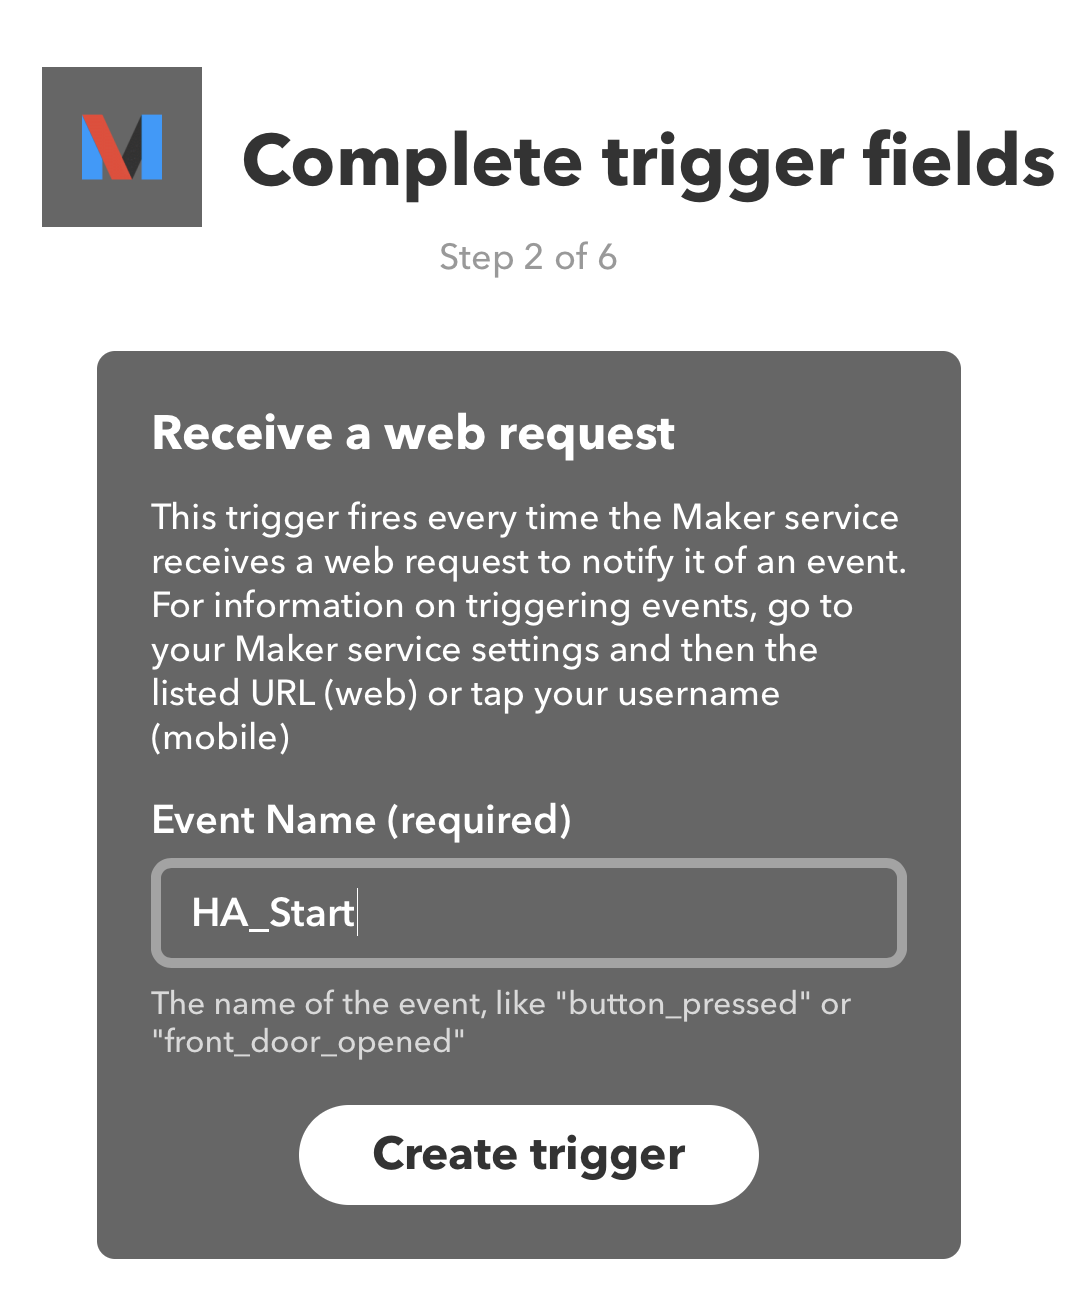
之后在 HomeAssistant 里面就可以通过这个名字触发这条 IFTTT 了。在此之前,我们先把下面的 that 步骤完成,为了直观地看到测试效果,我们选择 Notifications - Send a notification from IFTTT app
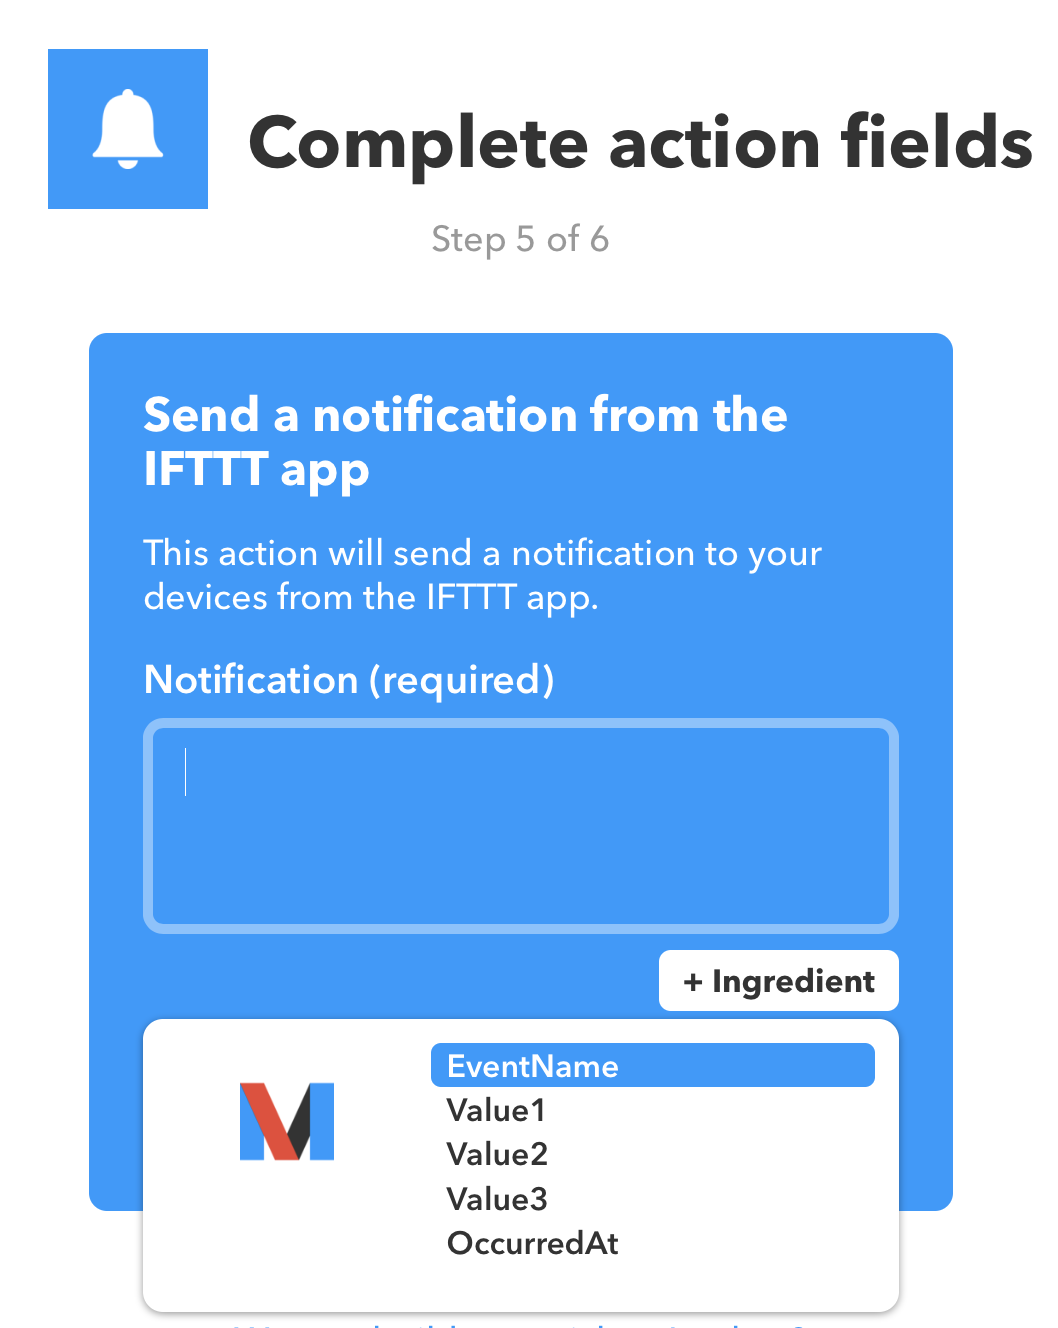
这里有很多 Ingredient 占位符, EventName 就是之前我们给事件声明的名字,Value1,Value2,Value3 我们可以在 HA 里面自己传过去,OccurredAt 就是发生的时间。
创建完成这条 Applet 之后,我们就可以开始用 HA 来触发了。触发的方式就太多了。
1.最简单的,在我们的管理界面:
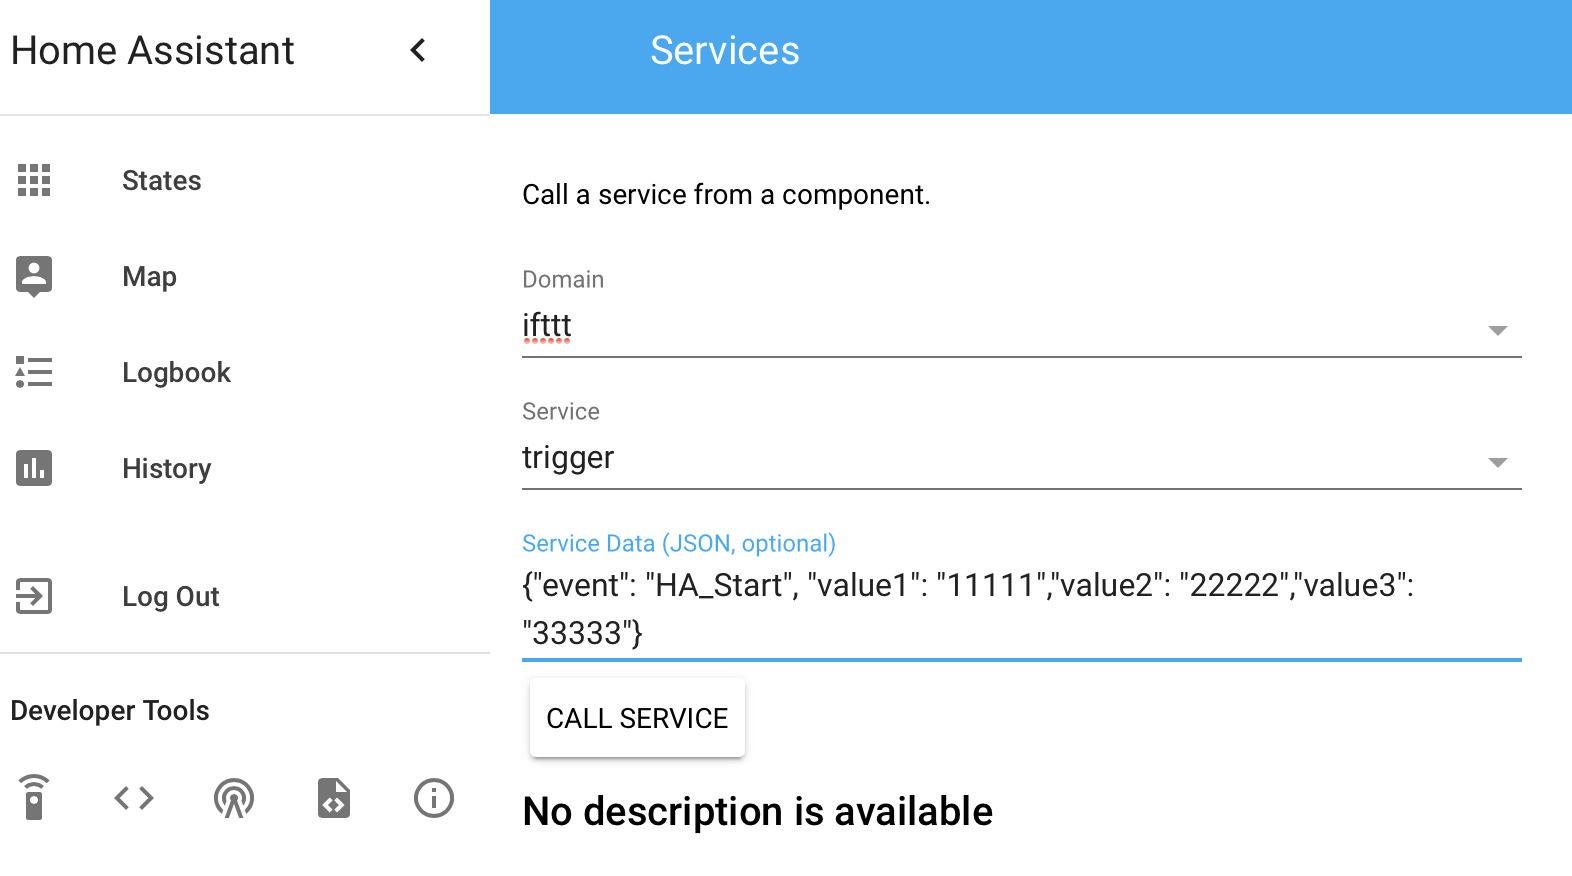
event 字段后面就跟我们之前填写的事件的名称,后面的 Value1,2,3 对应之前 IFTTT 里的参数。然后点击 CALL SERVICE ,不出意外就可以在几秒钟之后看到 IFTTT 给你推送了一条消息。
2.其次我们还可以在 automation 里的 action 中触发
1 | action: |
3.RESTful API 这真的是个强大功能。这意味着我们可以像调用普通 API 一样调用 HomeAssistant 的所有服务。由于太过强大,我另起一节介绍。
4. RESTful API 文档
和普通的 RESTful API 一样, HA 的 RESTful API 也是返回的 JSON 格式,另外,如果你配置了HTTP 这个服务并设置了密码(这个密码就是你登录控制面板的密码,推荐这么做),那么你只需要在调用 API 的时候传入密码参数即可。
具体 API 请大家看文档,我仅介绍比较常用的以做示范。
GET /api/services – 获取当前可用的所有服务
1 | [ |
你实际的 JSON 内容一定比我上面的要多,因为我删了一些不常用,留下精华做示范。可以看到最外面是个数组,每个元素都是一项服务,我留下了 ifttt,switch,light,之所以会出现三个服务,就是因为你在 Configuration.yaml 里面添加了这三个服务。根据上面返回的信息,我们可以写出调用 IFTTT 服务的 API 如下:
API: http://YOUR_IP_ADDRESS:8123/api/services/ifttt/trigger?api_password=YOUR_PASSWORD (YOUR_IP_ADDRESS 可以是局域网IP,也可以是域名)
Method: POST
Content-Type: application/json
Params: {"event": "homeassistant_start", "value1": "来自的 RESTful API 的推送"}
这里推荐一个 Mac 上我常用的测试 API 的工具 —— Cocoa Rest Client.
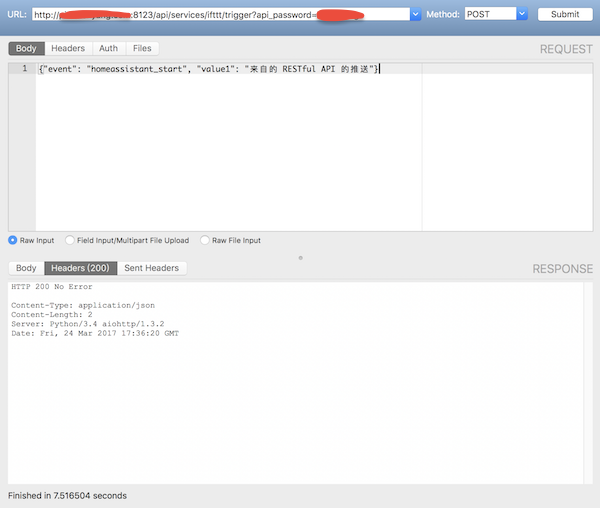
显示 HTTP 200 No Error 说明没有问题,接下来的几秒内你就会收到一条推送了。现在,你是不是和我一样觉得神奇之余还有一丝成就感。
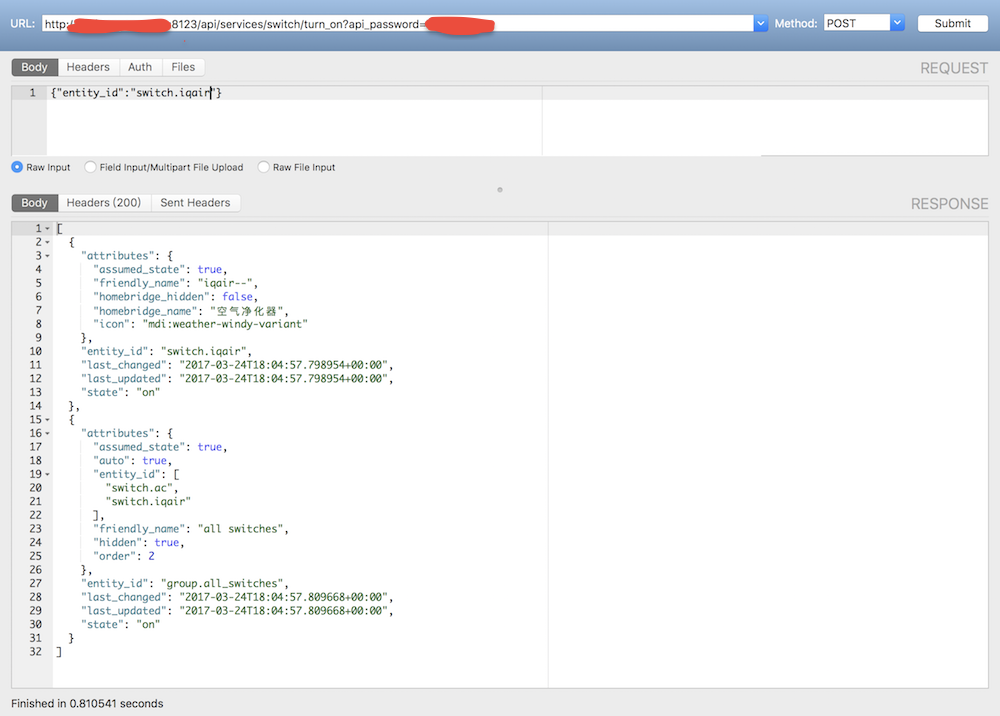
更进一步,你看到我上面还有 ‘light’ 和 ‘switch’ 这两个服务,这些是因为我配置了硬件相关的服务后出现的,这也就意味着你可以用 API 来控制你的电视,空调,灯泡灯一切电器。
例如通过 API 开启空气净化器:
通过 API 开启 Yeelight智能灯泡并切换到指定颜色和亮度:
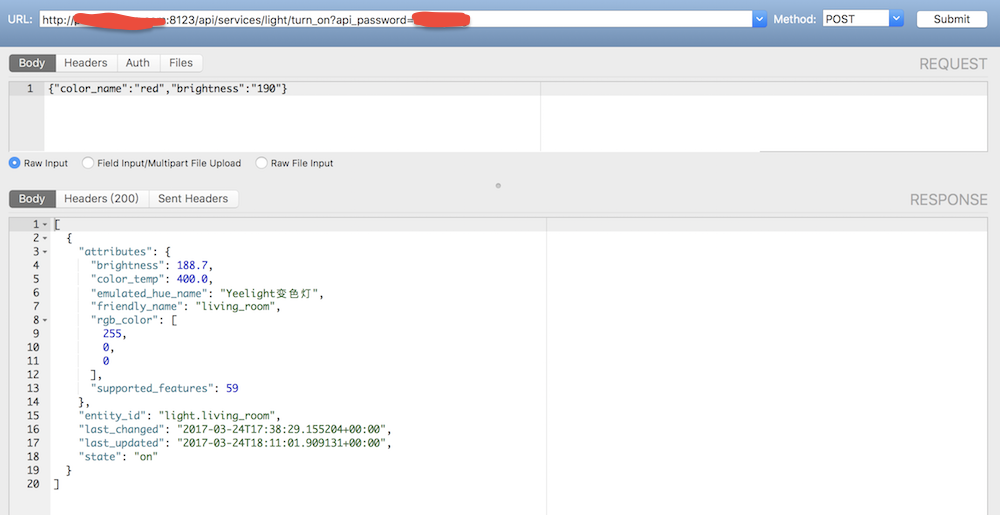
比如我还写了一个 Shell 脚本每天早晨8点自动运行,通过 API 获取 World Air Quality Index 的空气质量数据,如果 PM2.5大于50就通过 API 让床头灯颜色显示红色,否则显示绿色,这样我早上醒来一看床头灯的颜色就知道今天要不要带口罩了。
1 |
|
想到平时一直接触的 API 竟然可以用来控制你的电器,是不是又一次感觉不可思议。这一切,都归功于 HomeAssistant 这个成熟的开源社区,再次表达敬佩和感谢之情。
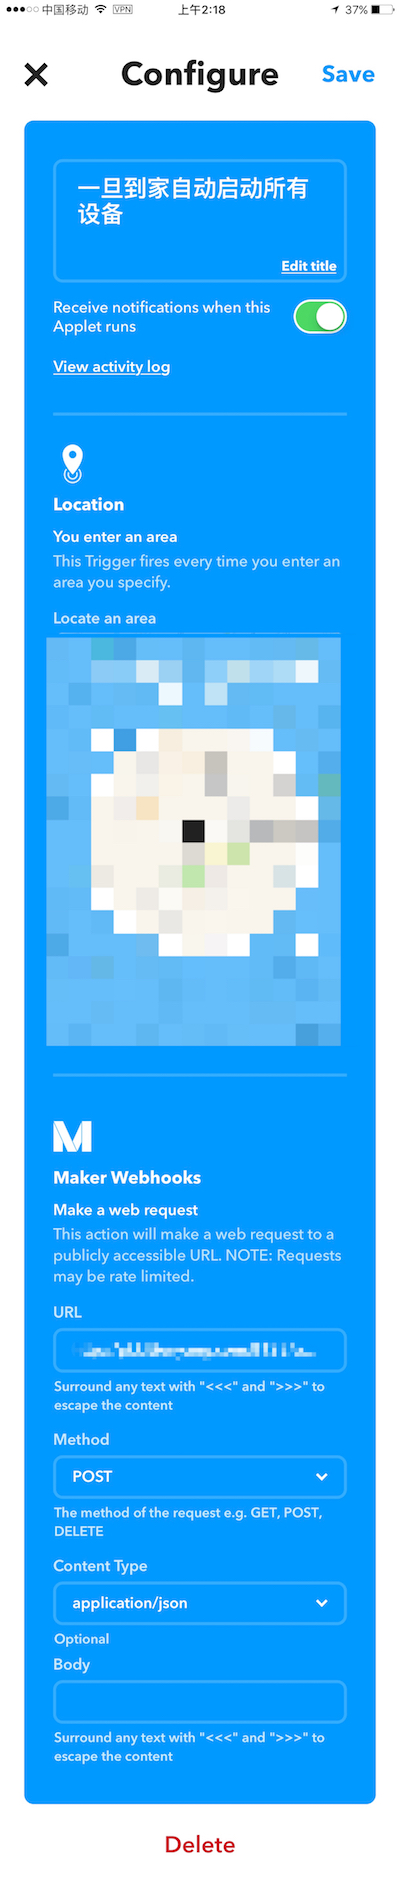
其实当 IFTTT 的 Maker Webhooks 作为 that 部分的时候,也可以充当调用 API 的发起方(Make a web request)。比如我的一条 IFTTT 是:当我到家的的时候自动开启所有电器。这里面 Maker Webhooks 作为了 that 部分就可以发起一个 HTTP Request 了。
至此,通过 API 实现了 IFTTT 和 HA 全部打通,两者既可以作为主动发起方,也可以作为被动执行方,简言之,你可以让 HA 触发一条 IFTTT,IFTTT 再触发硬件,也可以 IFTTT 触发 HA 的 automation,automation 再触发其他操作….. 总之已经可以结合出无数多的可能性,限制你的只有你的想象力。
好啦,下一篇文章,我们要开始接入硬件了,要知道我前面铺垫了这么久,最终要实现的功能还是用 Amazon Echo 和 Siri 控制所有家电啊。

